|
|
Increasing the Size of WISE Applets for Classroom Display
Content from this page can be downloaded at screen resolution download.
For PC users running Windows:
- Windows 7: Use the magnifier tool to zoom in
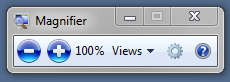
In Windows 7, the Magnifier application is an easy to use way to zoom in on a specific area of the screen. Previous
versions of Windows have this capability as well, but it is somewhat more complicated to use.
- In the bottom left of your screen, click the windows icon
 to open the search bar. to open the search bar.
- Type in "magnifier" and select the Magnifier application
at the top of the menu.

- Click the + icon to zoom in, or the - icon
to zoom out.
- Move your mouse to the edges of the screen
to change the position of your view.
- You can exit the magnifier at any time by clicking
on the magnifying glass, and then the "x" at the upper-right hand corner
of the Magnifier window.
- Windows 7: Change the resolution of your display
Note: changing the resolution of your screen
may also change the position of desktop icons.
Changes can be reverted by following the same steps
listed below, and selecting your original resolution
in step 2.
- Right-click on the desktop (do not click on any icon or folder) and select Screen Resolution.
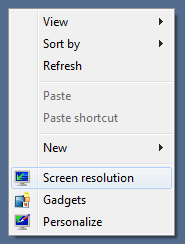
- Take note of your current resolution (you will want to know this to reset your resolution afterwards). Select a lower resolution (such as 800x600) and click OK.
- If prompted to confirm the changes, click Keep Changes.
- Earlier Windows: Change the resolution of your display
Note: changing the resolution of your screen
may also change the position of desktop icons.
Changes can be reverted by following the same steps
listed below, and selecting your original resolution
in step 4.
- Right-click on the desktop (do not click on any icon or folder) and select Properties or Personalize (Vista).
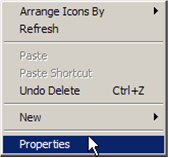
- In the Display Properties window, select the Settings tab.
- Take note of your current resolution. You may want to remember this to reset your changes later.
- Slide the screen resolution slider to the left to enlarge the appearance of the applet.
800x600 or less may work well for the WISE applets, depending on your monitor.
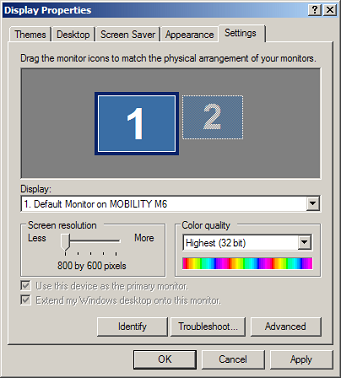
- Click Apply
- If prompted to confirm the changes, click Yes.
- Click OK
For Mac OS X Users:
- Change the resolution of your display
Note: changing the resolution of your screen
may also change the position of desktop icons.
Changes can be reverted by following the same steps
listed below, and selecting your original resolution
in step 3.
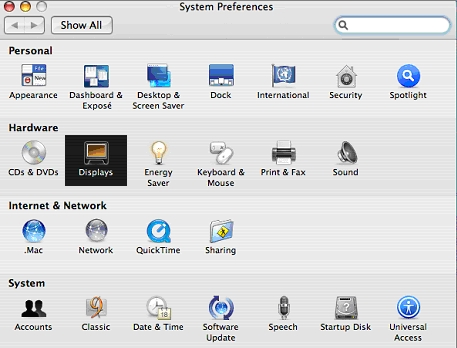
- Select System Preferences from the Apple menu or from the system toolbar.
- Under Hardware, click on the Displays icon.
- Locate the Resolutions box and take note of your current display resolution. You may want to remember this in order to revert your changes later.
- Select the new desired resolution (800 x 600) typically works for most WISE applets.
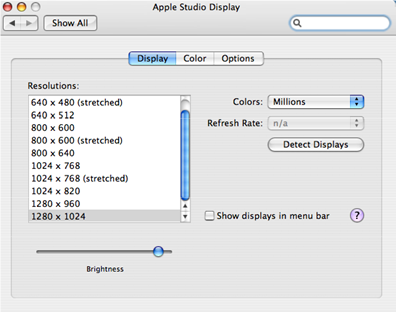
- If you encounter a new window titled, “About to change the display mode…” Click OK.
|
|
|
|